SHARE:  
JQba70 image


September 5, 2022

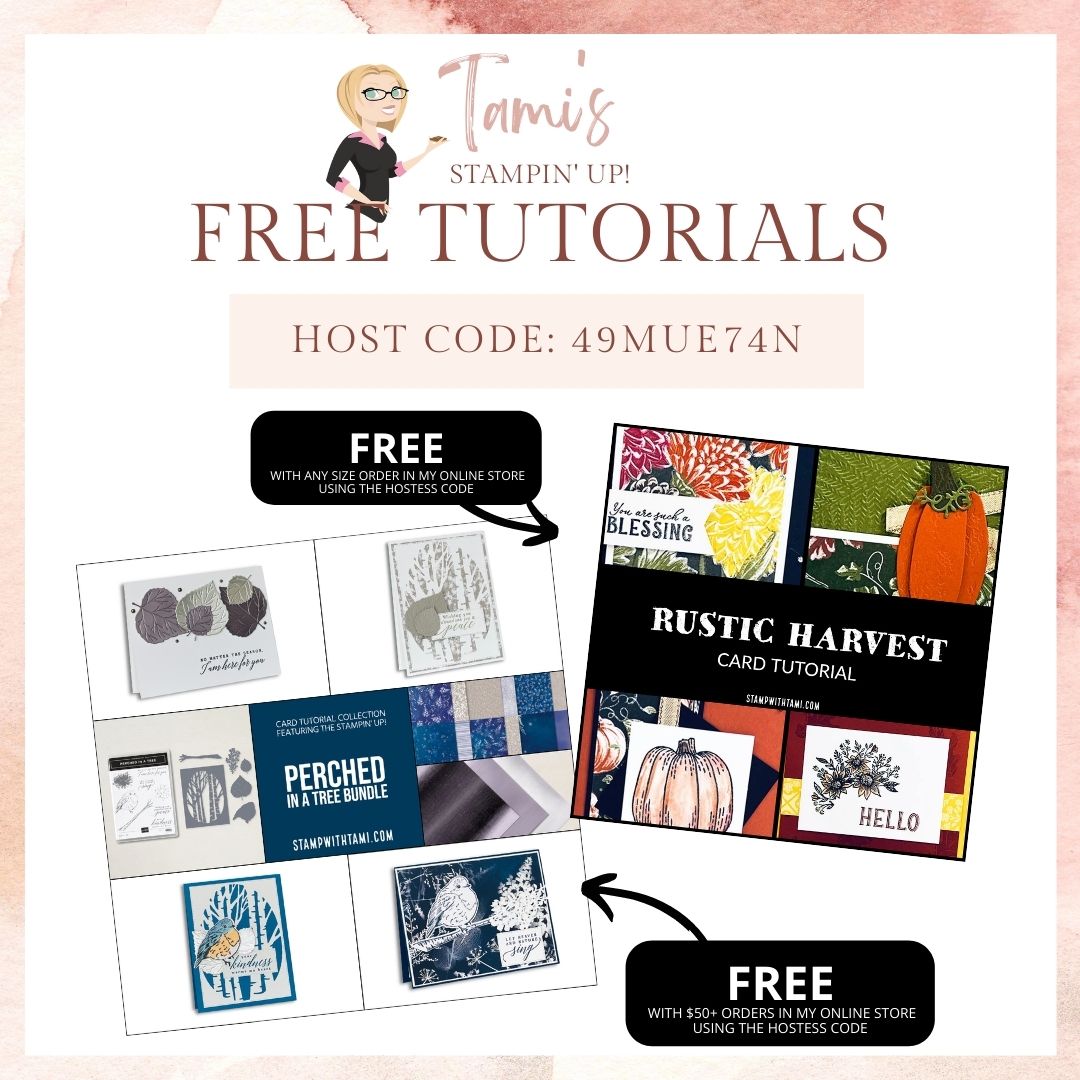
HOSTESS CODE 49MUE74N


Hello Tami,


I'm traveling for the next 2 weeks and will be giving away goodies every day while I'm gone. Be sure to check my blog every day to enter each giveaway. It's free to enter and you can enter once a day. 

ENTER TODAY'S GIVEAWAY
Copy-of-double-frequent-buyer-points- image

TAMI'S SPECIALS


ALL SPECIALS
SHOP ONLINE

FREE TUTORIALS

I hope you enjoy and are inspired by today's free tutorials.

AUGUST 2022 PAPER PUMPKIN

ALTERNATE TUTORIALS 

Stampin-Up-august-2022-paper-pumpkin-alternates-z-fold-card-and-treat-box-diy-Instagram-Post-Square-Facebook-Post1 image
Stampin-Up-sunflowers-paper-pumkin-treat-box-diy1 image
SWEET SUNFLOWERS Z FOLD CARD & BOX  TUTORIAL
SWEET SUNFLOWERS CARD TUTORIAL
Stampin-Up-paper-pumpkin-gift-treat-box-diy9 image
SWEET SUNFLOWERS PAPER PUMPKIN KIT AND TREAT BOX VIDEO
september-2022-paper-pumpkin-kit image
SUBSCRIBE TO SEPTEMBER PAPER PUMPKIN
FREE CARD TUTORIAL NEWSLETTER EXCLUSIVE
sweet-candy-cane-newsletter-card- image


MEASUREMENTS:

  • Real Red – 5 ½ “x 8 ½ “, score and fold at 4 ¼”
  • Basic White (2) – 4” x 5 ¼ “
  • Basic White – scrap for Candy Canes
  • Vellum – scrap for circle
  • Garden Green – scrap for greeting and greenery


INSTRUCTIONS:

  • Put a few drops of Garden Green Ink Refill on an acrylic block
  • Add a few drops with Water Painter
  • Flick the ink/water mixture onto one of the Basic White layers
  • Adhere the Basic White layer to card front with adhesive
  • Use Stylish Shapes Dies and cut a circle with Vellum scrap
  • Add the Vellum to the card front with liquid glue
  • Stamp Candy Canes with Real Red Ink, use dies to cut them out
  • Cross the Candy Canes and adhere together with Mini Glue Dots
  • Use the Bough Punch twice using Garden Green scrap
  • Add the Bough pieces to back of Candy Canes with adhesive
  • Stamp two leaves with Garden Green ink and cut out with dies
  • Add the die cut leaves to back of Candy Canes
  • Add Candy Canes and greenery to the card front with Dimensionals
  • Stamp Greeting on Garden Green scrap with Versamark ink
  • Pour Basic White Emboss Powder over stamped image, heat set with Heat Tool
  • Use Stylish Shapes and cut out greeting
  • Add greeting card front with Dimensionals
  • Add the second Basic White layer to the inside of card with adhesive


SUPPLIES:


FREE PDF
ALL SPECIALS
Tamis-specials-and-hostess-code-Instagram-Post image
TAMIS-spetember-14-days-of-giveaways image
Copy-of-double-frequent-buyer-points- image
Tami White | Stampin Up Independent Demonstrator | stampwithtami.com
Facebook  Instagram  Pinterest  Youtube  Twitter