How do I add an embryo to my inventory?
It's important to note that embryos must be entered into the embryo inventory before ET calves can be registered. If it's the first time you've heard there was such an option on the AGA Online Registry Service, chances are that your inventory is empty unless embryos have been transferred into your account by another AGA member. To add embryos into your inventory that have been collected from females within your active herd:
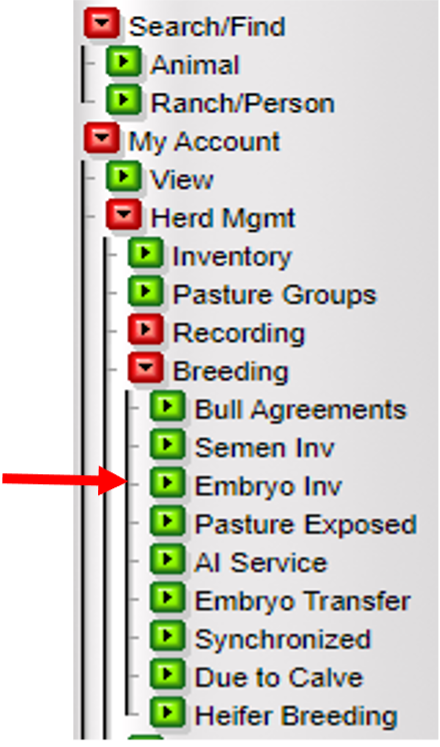
- From the Embryo Inventory Page, select "Add New Embryo"
- A new screen will appear asking for the following required information: Sire's registration number, dam's registration number, and the flush date.
- After entering the data, select "Find these"
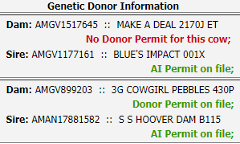
It's important to remember that registration numbers should always include a capital AMGV, and no space, between the numbers when recording data. For example: AMGV1234567.
After the information above has been entered, a new screen will appear asking for more detailed information on the embryos you wish to store in your digital inventory. You should see the animal details on both the dam and sire from the previous screen including the registration number, tattoo and name. Depending on how organized you wish to be, you have the opportunity to enter the following details, but only required details are marked with an asterisk (*):
- Cane Code
- Flush Date (entered from the previous screen)
- Quantity*
- Tank
- Canister
- Exportable
Once these details have been entered, simply select "Save Inventory" to be sent back to your inventory screen. The previous steps must be done for each mating of embryos you wish to store within your digital inventory and record calves from.