Every month I'll be writing about how to use Modeling Glass in your work, and hopefully answering some questions that will help you get the results you want. There's always a learning curve with a new product, and there are considerations working with frit and powder that you don't have when firing sheet glass.
There is a full set of FAQs on the Modeling Glass website at
www.modelingglass.com
.
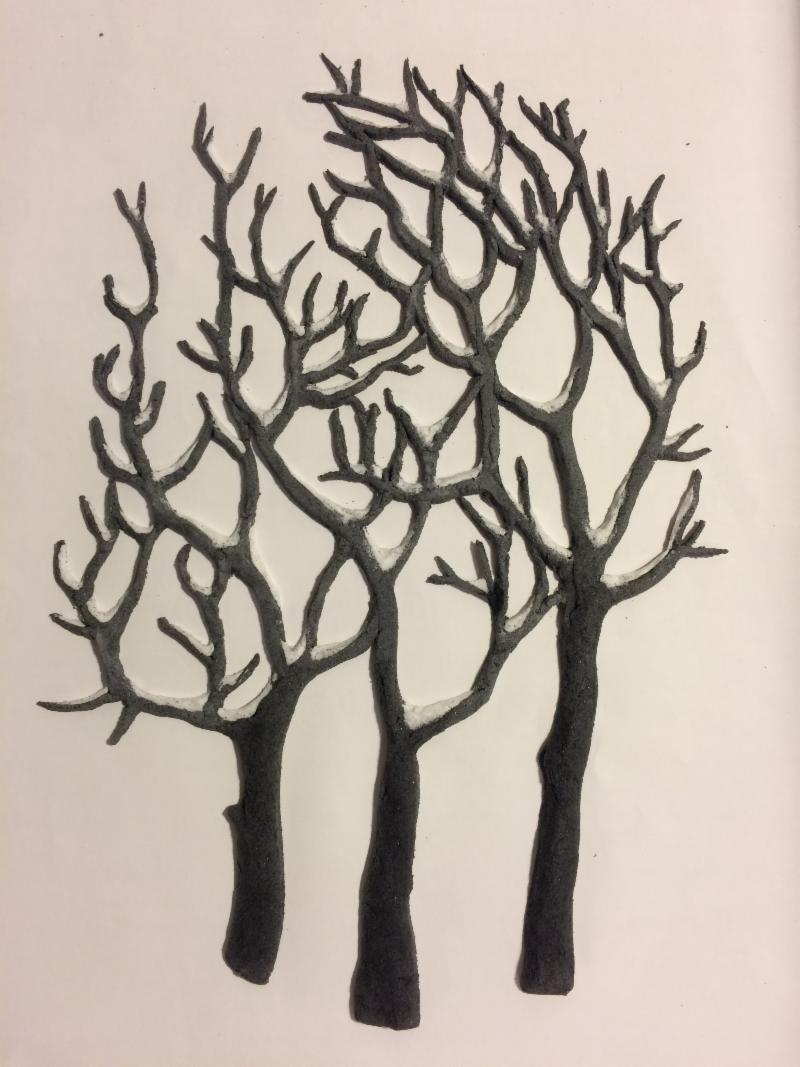
Several artists have contacted me asking whether it's possible to build a shape and then after drying it, put it right on top of base glass and then tack fuse it into place in a single firing. The short answer is "yes," but it's not always the best approach. In my own art, I usually will build a shape...whether it's a tree, a leaf, flower, whatever...separately and tack-fuse it without any backing glass underneath it. This is great for several reasons: most importantly, tack fusing the object allows it to shrink the expected 15-18% average. Getting the shrinkage out of the way means that I will know better how the finished piece will look, because there won't be much additional shrinkage after that first firing.
Other advantages: I can cold work the shape after fusing if needed; I can add more material to fine-tune it and re-fire it if I want; and the tack fuse will help me determine what colors look like at the low temperature of 1275. At that point, I can decide whether I want more vibrant colors by raising the temperature and hold time of subsequent firings.
White, in particular, becomes whiter and more intense with more heat work. I typically fire a white shape to a peak of 1325 degrees with a one-hour hold. Other colors become more intense with additional heat work, since each firing drives out more of the air that makes colors opaque, and the heat matures the colors of the powders.
Check out next month's eNews for more tips on working with Modeling Glass, and please send me an email at [email protected] if you have a specific question about a project. Photos help me understand your question!