
the creative process....
Sine Doors
Task: Create unique closet doors "with a wave"
Location:
Ocean-front Victorian cottage
Material: Genuine Mahogany
These are the parameters given to Ted West, of T West Woodworking in Canterbury, New Hampshire in the Spring of 2013.
The homeowner on this project frequently visits Goosebay because of the beautiful and unusual woods available. On one trip, he fell in love with a massive piece of 8/4 genuine Mahogany. The piece was over 14 feet in length and 26 inches wide. He wanted to create something that would display the beautiful wide surface as much as possible. He decided use the piece to create doors.
He didn't have a specific shape in mind, but thought the wide slabs could meet in the center with a "wave" shape. Working closely with Ted, they discussed many possibilities-including the wave made by the beat of a human heart - but in the end, it was the artistic simplicity of the sine wave that won out. The single length was cut in half to render two 26 inch wide planks to cover the opening of the closet. The overlap, once the boards were jointed and squared up, was 8 inches. This then dictated the amplitude of the wave.

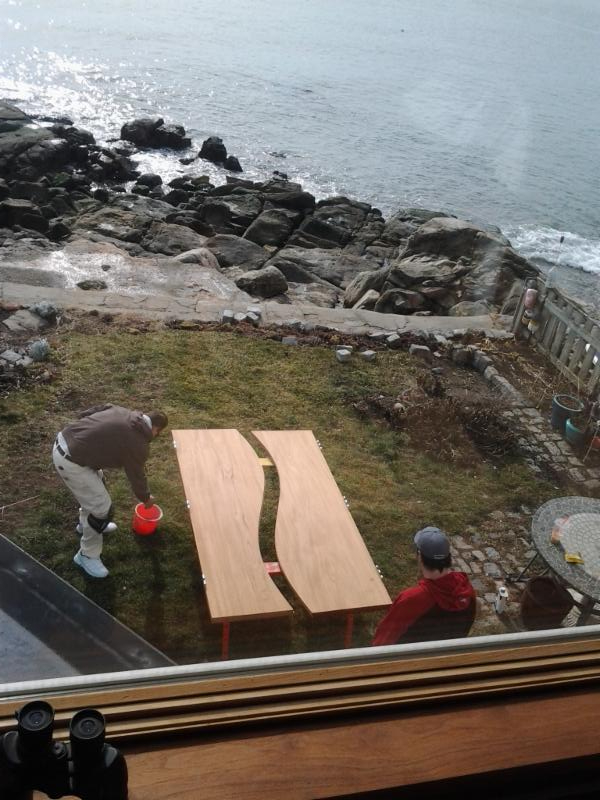
Ted first tried using a circle jig to mechanically create the sine wave. (see photo) This failed to make the elegant shape that he desired. He decided to use a more numerical approach. Ted knew the amplitude and length of the wave and used formula in Excel to create the plots for an 8 inch sine wave. He then plotted those points at one inch increments along the length of a piece of plywood that he would transform into his cutting jig. To connect the points, he used his boat building knowledge to create a "fair curve." Using a long narrow strip or "batten", he tacked the piece to his plywood at each marked point, bending the narrow wood as he went. The batten made a smooth curve between each point which was then traced onto the plywood. By cutting along the line with his saber saw and doing some smoothing, his jig was created. He was ready to rout door number one! (see photo)

A router bit with a guide bearing was used to follow the pattern and the bit was lowered a little on each pass. Once the bearing was low enough to touch the door edge, the jig was no longer needed. The waste was sawn away and the cutting was finished with the router using the newly shaped edge of the door as the template. On to door two!
The sine wave had to be the same on each door so Ted
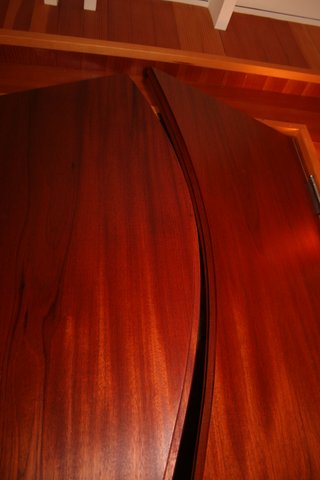 laid the curved edge of the cut door on top of the second door, aligned them to the final configuration and traced the shape. Using a sabersaw, the curve on door two was cut roughly to shape. He then butted them together and, with the router, followed the edge of door one to cut an exact copy of the shape in door two. The next step to create a half-lap on each curve so when closed, light would not show through. This was done by using a large diameter router bit and a small guide bearing. (see detail photo of half-lap)
The final challenge was to install the doors. Ted knew
 that the doors must mate exactly or the gap between them would be irregular! A check on the opening revealed the sides were plumb but the header was not level! To scribe the doors, Ted laid the doors on a flat surface and butted them together so the curves looked just right. He then measured the slope of the header from a level line and recreated and cut this taper on the doors'
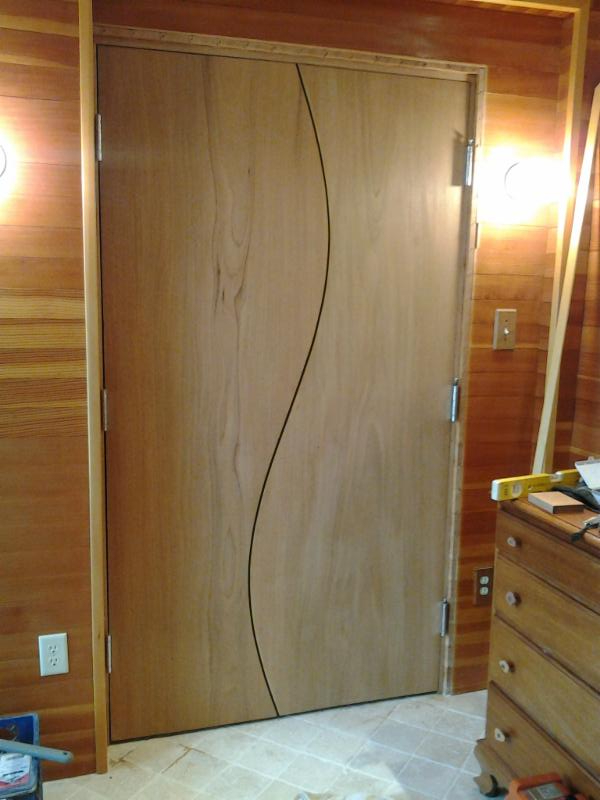 top edge. After test fitting and cutting the bottom edges, the doors were finished with Tung Oil and hung in place.
See more of Ted's work by clicking on the link below.
|

