This week's fun activity...
Dipped Marble Pumpkins
Fall is a great time to decorate pumpkins!  Instead of carving one into
a Jack O’ Lantern, try painting the outside and giving your
pumpkin a unique look.  

For this week’s activity, we will use nail polish and dip pumpkins in water to marbleize the outside!

This is a creative fall activity for adults and families
with adult supervision!
Materials:
  • Small White Pumpkins (orange can also work) 
  • Nail Polish (3 or 4 colors) 
  • Container for water, deep enough to fully submerge your biggest pumpkin (use a disposable container because nail polish will not be easily cleaned
  • Room temperature water 
  • Toothpicks 
  • Plastic Gloves 
  • Q-Tips 
  • Wax paper 
  • Isopropyl alcohol
  • Glasses/glass container
Step 1 - Fill

Fill your container with room temperature water.

The water level should be high enough that you can fully immerse your
pumpkin in the water.  

Room temperature water is important as the nail polish will not spread
as easily in cold water.
Step 2 – Gloves

To keep your hands clean, wear a pair of plastic gloves.  This will make it easier to handle the painted pumpkin as well as prevent getting nail polish all over your hands and fingertips.  
Step 3 – Drip

Open one of the nail polishes and shake the brush near the surface of
the water. Don’t pour it out or drip large drops.  
Heavy drops will sink to the bottom.
Step 4 – Crush

Use the end of a wooden spoon to press and crush your leaf pieces.  Continue crushing until the isopropyl alcohol solution is dark
with the leaf colors.
Step 5 – Dip

Cover your glasses with plastic wrap and let sit out overnight to let the isopropyl alcohol evaporate and the to concentrate the colors.  

Alternatively, you can place (heat-resistant) glasses
in a hot water bath for about 30 minutes to speed up this process.
Step 6 – Swirl

Swirl your pumpkin around to color the entire surface and use up the nail polish, then remove it from the water. 
Step 7 – Dry

Place the pumpkin on a sheet of wax paper and let dry. 
Step 8 – Clean

To start the process again with a new pumpkin, you need to remove the leftover nail polish from your container.  

Take a Q-Tip and move it around the surface of the water to collect the unused polish.

Now, you’re ready to dip another! 

Reminder - last Wednesday Night Walk this week!


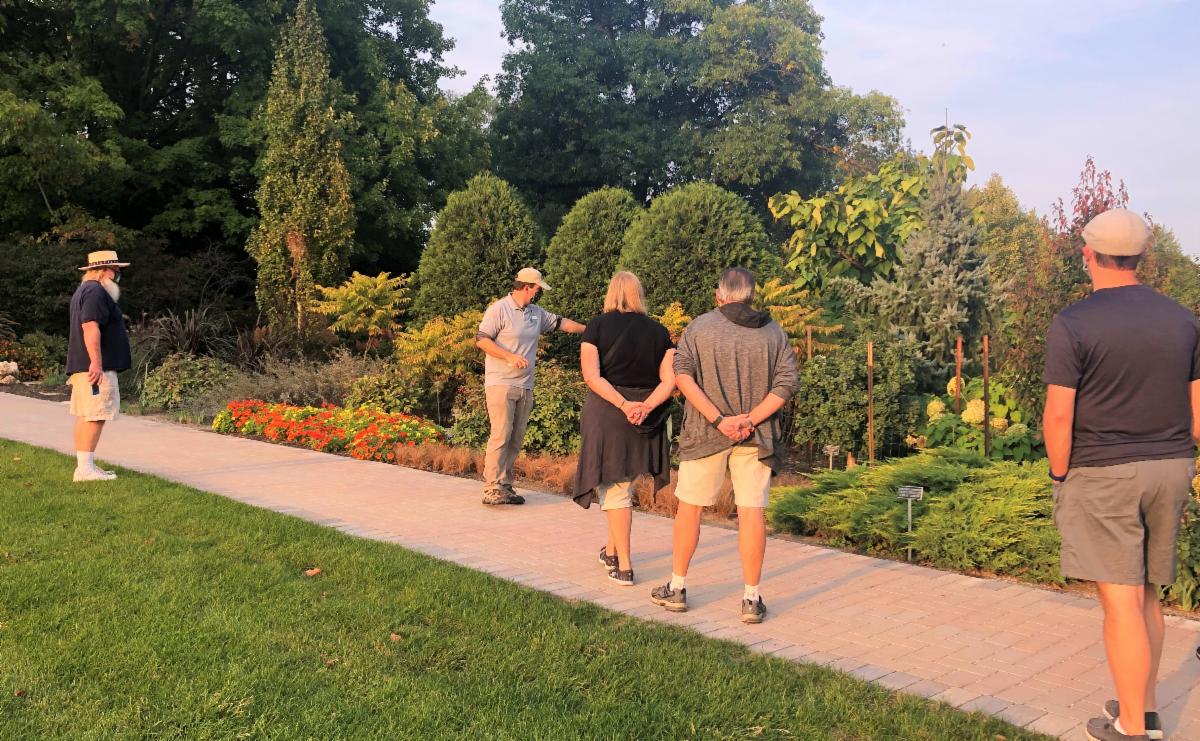
Autumn Highlights Tour
Wednesday, Oct. 14
5:30-7:00 p.m.


Join us for a guided tour through the Boerner Botanical Gardens to learn about late season flowers, plants, fruits, and the colorful changes happening as the
Fall season begins!

Maximum 10 people each walk. Mandated by Milwaukee County.

If we have reached our limited capacity, walk information and a Garden map
will be provided to allow guests to safely self-guide the tour on your own.

A $5 dollar donation is requested.

Please note the tour is the same each week, with minor variations depending
on garden highlights.

Additionally,....
Social distancing and masks will be required.

 *  All attendees gather in front of Boerner Education & Visitor Center.
 *  Hand sanitizer will be available.
 *  Bathrooms will be closed.
THANK YOU FOR YOUR FBBG MEMBERSHIPS

  We are continually processing memberships!

You will receive a temporary card in the mail
as we process your packets.

Membership questions? Please contact Dkoepsel@fbbg.org


JOIN TODAY!
You can easily purchase a membership on-line by clicking here.

THANK YOU!
We’d love to see your creativity!

Tag us on:

Facebook (Friends of Boerner Botanical Gardens

Twitter (@FBBG)

or Instagram (friendsofbbg) 

to show off your dipped marble pumpkins or any of our weekly activities!
Please continue to watch for our weekly activities... 
fun learning for ALL ages!