|
End of Season Reminders
Check and Clean These Items for Best Performance!
| | |
Salt cells with debris and/or scale deposits can cause:
-
Low or No Chlorine (Water cannot properly make contact with the cell blades for proper chlorine production.)
-
AutoPilot Brand Alerts: "Check System", "Low Flow, Purifier OFF", "Check Cell/Clean Cell", "Warning! Check/Clean Cell", "Error! Purifier Off, Check Flow", "Check Flow", "Warning! Low Amps-Cell?" (If any of these occur, chlorine will not be produced and you should supplement with another form of chlorine until corrected.)
-
Jandy Brand Alerts: "Cell On" indicator not activating, "Service", "No Flow", code 125 (If any of these occur, chlorine will not be produced and you should supplement with another form of chlorine until corrected.)
- Shortened Cell Life
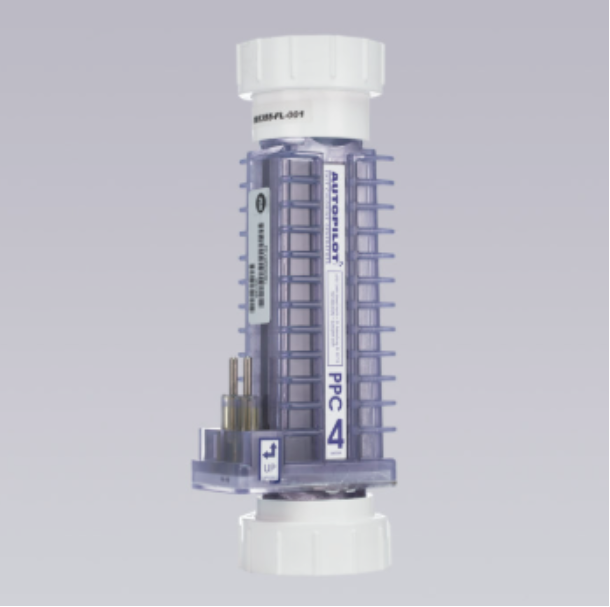
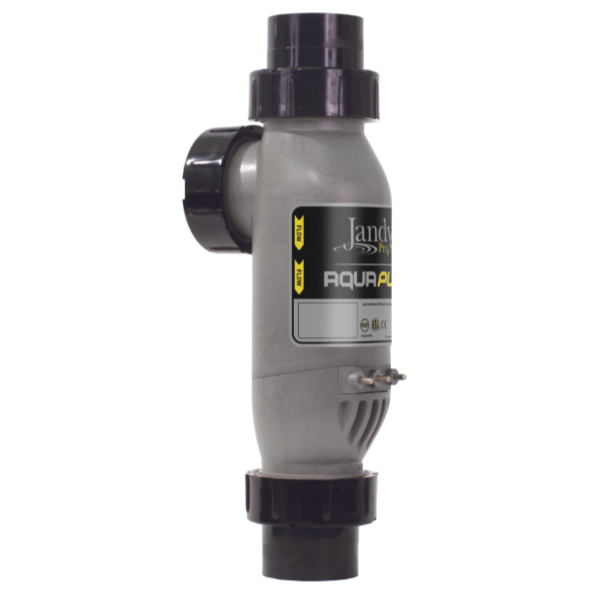
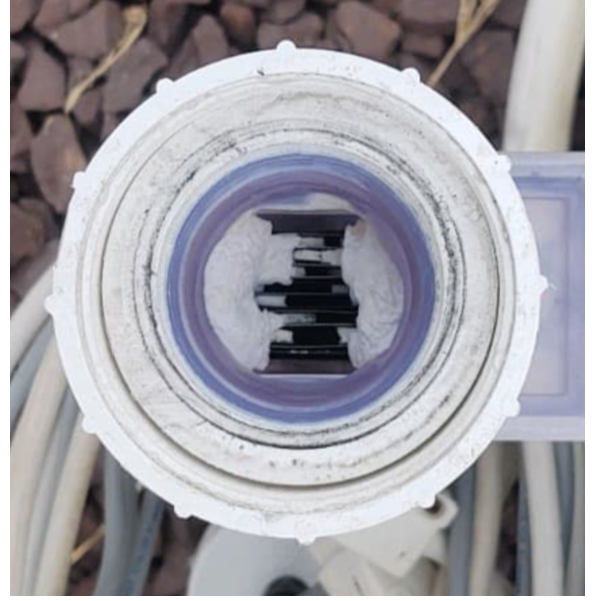
Remove the salt cell, check the cell blades for debris and scale deposits, clean if necessary, and replace. Always follow the manufacturer's instructions for details on how to remove, clean, and replace the cell. Never use sharp objects to scrape scale deposits from the cell blades as this will cause damage and premature failure of the cell and void the warranty. Manuals and an example of a cell clogged with scale deposits are below.
| | |
AutoPilot Cell
Manual
See bottom of pg. 41
| | |
Jandy Cell
Manual
See pg. 37, Section 6.3
| | Cell Clogged with Scale Deposits | | |
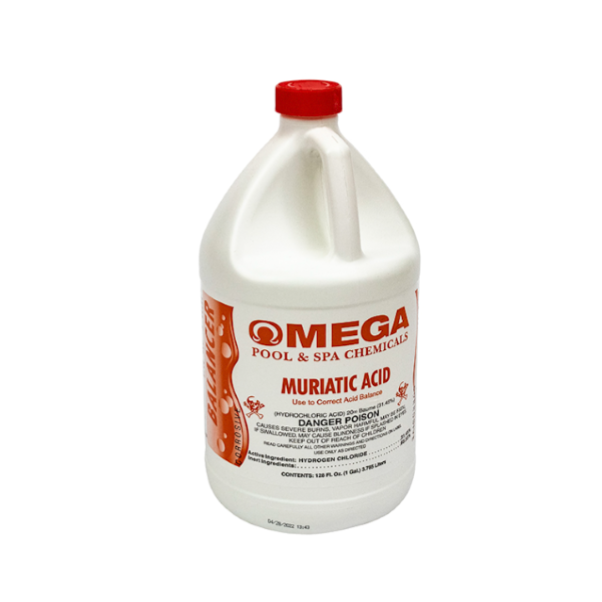
Muriatic Acid
(Can be used as a cell cleaner when diluted with water.)
| | |
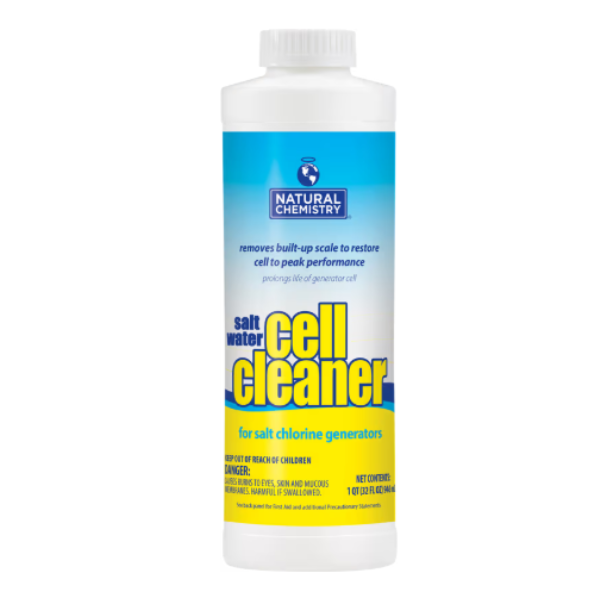
Natural Chemistry Cell Cleaner
(A specialized cell cleaner for multiple types of scale.)
| | |
For best performance, we recommend cleaning the filter mid-season and at closing time as a standard, and any time between as indicated by the filter pressure gauge.
-
What is "Clean Pressure"? Clean Pressure is the PSI (pounds per square inch) reading on the filter pressure gauge when the filter elements are brand new or just cleaned (cartridges, grids, or backwashed).
-
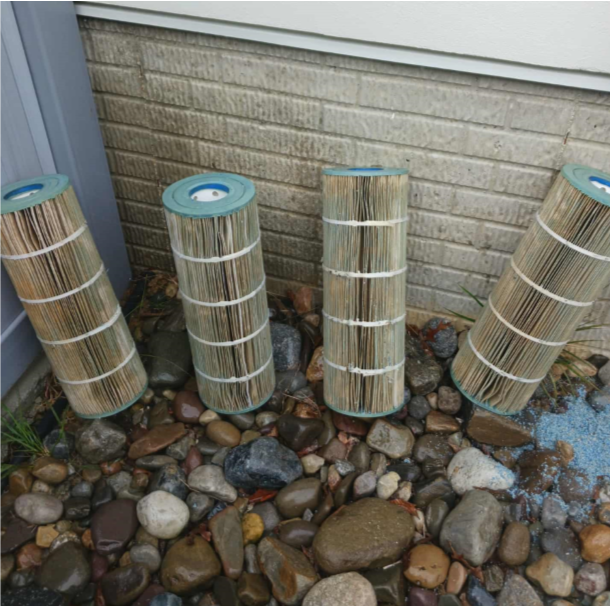
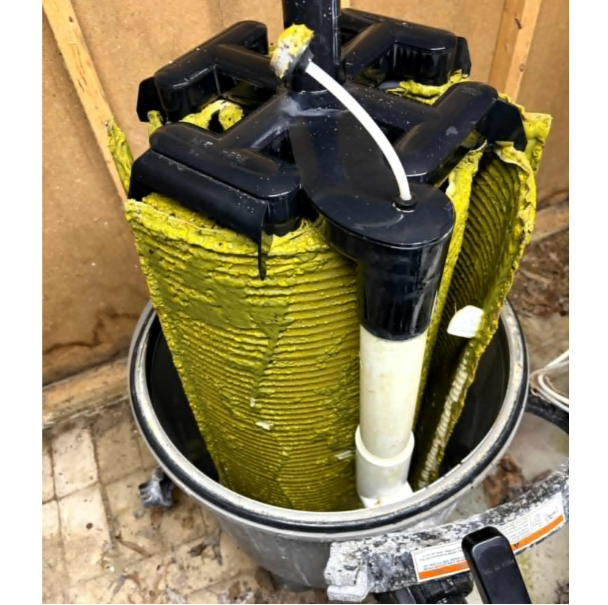
What is "Dirty Pressure"? As the filter collects unwanted particles such as debris, dirt, oils, etc., the filter pressure will start to increase. Dirty Pressure is the PSI reading on the filter pressure gauge indicating max load of these unwanted particles, seen as a 10 PSI increase over the Clean Pressure (see pics of dirty filters below). This situation requires a filter cleaning or backwashing. Always refer to the filter manual for proper cleaning or backwashing procedures.
-
Example: Clean Pressure 10 PSI and Dirty Pressure 20 PSI
-
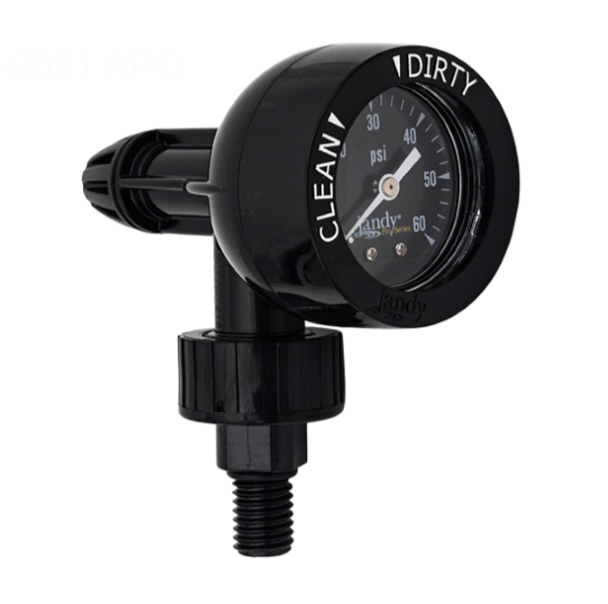
Adjusting the Pressure Gauge. Some filter pressure gauges have bezels with Clean/Dirty indicators for quick reference which can be rotated (see pic below). After each filter cleaning or backwashing, the Clean Pressure should be checked and the bezel adjusted by rotating so that the Clean Pressure indicator aligns with the filter pressure gauge needle. As the filter elements (cartridges or DE grids) or media (sand) age throughout the years, the Clean/Dirty Pressures may rise slightly. Always refer to the filter manual for recommendation on element or media replacement frequency.
Not cleaning the filter as needed can cause low flow through the system. This can trigger low flow malfunctions and possible damage to inside components or whole goods of salt systems, heaters, filters, pumps, and chlorinators. When salt systems experience low flow situations, chlorine will not be produced, allowing risk for algae, bacteria, and virus growth. When heaters experience low flow situations, heat calls will be prevented and the pool water will not achieve desired set temperature. Neglected filter cartridges or DE grids can become too embedded with unwanted particles that cleaning may not be effective, debris may cause tears or holes in filter media fiber, and end caps, cores, support bands, etc. can break, possibly resulting in full cartridge or DE grid set replacement. Neglected filters can also come under immense internal pressure which can cause clamp or tank failure, where tanks can explode with immense force that can cause devastating injuries or death. Low flow can stress the pool pump, creating heat, which can damage internal parts. Low flow can also create dangerous situations for chlorinators (chlorine tablet erosion feeders). Chlorine and hydrogen gas buildup can rupture the chlorinator housing or become explosive.
| | |
Dirty Cartridges
(Supposed to be near white in color.)
| | |
Dirty DE Grids
(Supposed to be near white in color.)
| | |
Filter Pressure Gauge
(Notice the clean/dirty indicators.)
| | |
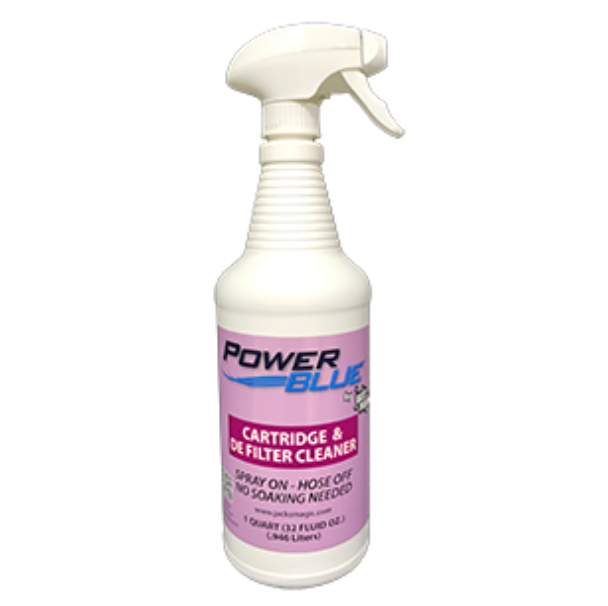
Cartridge & DE Cleaner
(Quick cleaner spray for cartridges and DE grids.)
| | |
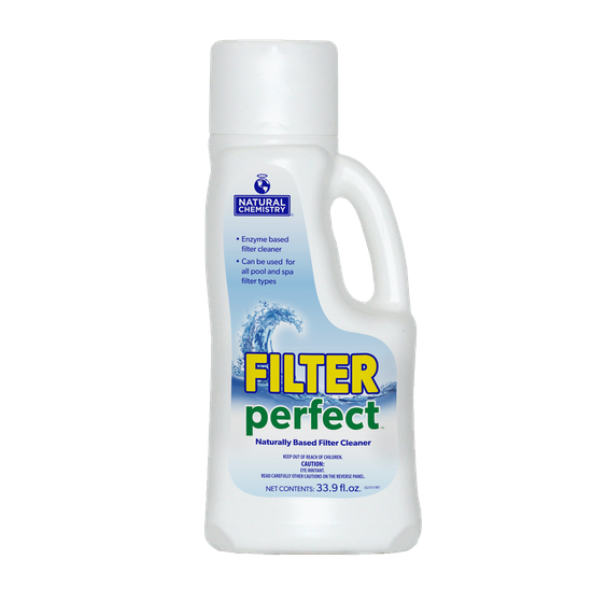
Filter Perfect
(Deep cleaner soak for cartridge and DE grids.)
| | |
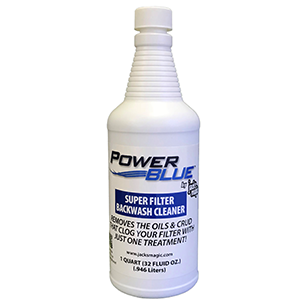
Backwash Cleaner
(Cleaner for sand filters.)
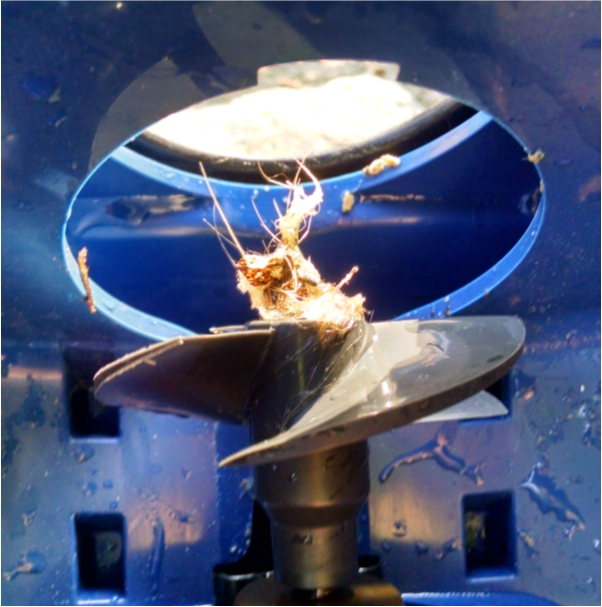
| | Polaris (Robotic) Propellers | | We recommend checking the propeller of Polaris robotic automatic pool cleaners at least mid-season (end of season is ideal as well, so it's clean for the start of next season). Hair or grass may become wrapped around the propeller. Check the propeller more frequently if your pool experiences more than normal debris of this type. If wrapped debris is neglected, it will constrict the propeller, damaging the motor block and requiring replacement. Cost and warranty of an entire new cleaner outweighs the cost and warranty of replacing just the motor block. So, keeping the propeller (and wheels) free of debris and regularly dumping and cleaning the debris cannister is very important! | | |
Propeller
(Debris wrapped around propeller.)
| | |
Checking the propeller:
- Turn off cleaner, disconnect control box power cord from power source, and disconnect cleaner cable from control box. Check wheels for debris and remove if necessary.
- Open the top lid. Remove the debris cannister. This is a good time to clean and check the condition of all mesh sides and the bottom rubber lip. Set aside.
- Locate the grate at the rear of the cleaner. Unscrew the single screw and set aside.
- Gently squeeze each side of the grate to release the grate tabs from the body of the cleaner and slowly pull the grate towards you to remove. Set aside.
- Locate the secondary grate, gently lift the rear tab and slide the grate out the rear of the cleaner, and set aside.
- The propeller is now exposed. Check and remove debris if necessary. The propeller can be removed from the shaft if needed by pushing it off (may take a little force to pop off). Take note that the the shaft and propeller receiver hole has one flat side. It will only fit one way upon reassembly.
- Once cleaned, reassemble.
- If you have any questions, feel free to reach out to us!
| | |
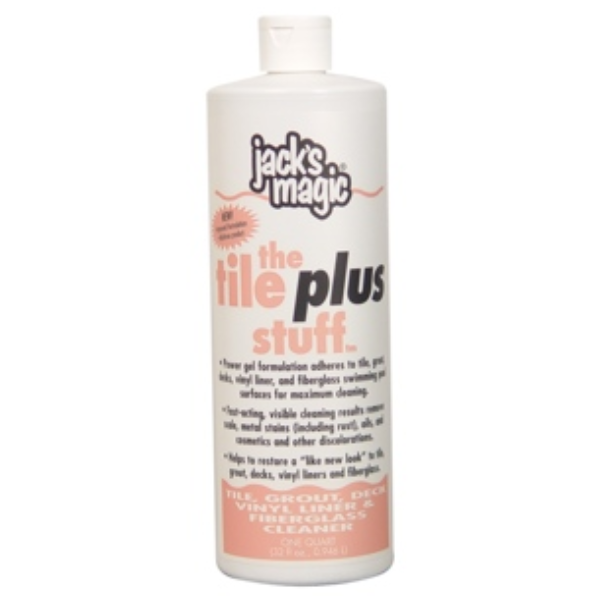
We recommend cleaning pool tile 3 times a year - after pool opening, mid-season, and before pool closing.
The Tile Plus Stuff has been specially developed to keep pool tile, grout, vinyl liners, and fiberglass looking their stain-free best. Its fast-acting, multi-acid formulation starts working on contact, providing immediate visible cleaning action. The Tile Plus Stuff has gel-like properties that adhere to the surface of tile, grout, vinyl liners, and fiberglass for maximum cleaning of scale, metal stains (including rust), oils, and cosmetics. This product will not etch tile or grout when used as directed, and is compatible with all pool sanitizer systems.
| | |
The Tile Plus Stuff
(Also great for cleaning skimmers - weir doors, inside walls, and lids.)
| | |
Need Assistance?
Contact us at 301-932-4547!
| | | | |