|
Happy Holidays! From our families to yours, we hope you are having a wonderful holiday season! With Christmas just days away, it's soon going to be time to put all of our seasonal decorations away. As hard as it may be to think about, taking a few moments now to get organized for the post-holiday clean-up in your home, can really make a difference in lessening your stress. We've got some great tips in this, our December newsletter, so why not grab your favorite holiday beverage, curl up in a cozy blanket, and read all about it?! Here's to the rest of our wonderful holiday season, and to a happy new year. HRC..."We do the little things that never seem to get done."
| |
|
It's Almost Time:
Get Ready to Store Your Holiday Decor
| |
|
Holiday festivities will soon be coming to an end, and the task of putting away all of your decorations is just around the corner. I know..... "Bah Humbug". To make this often overwhelming task a little less overwhelming, we've gathered some really great holiday decor storage tips that can make this job a little easier.
Artificial Tree Storage
-
IF YOUR tree is too heavy to lift up into an attic, or carry down a set of stairs, choose a storage area that is located on the same level as it will be used in. A garage, closet, or main-level storage room, are all good options.
-
YOU CAN store your artificial tree in one piece by using a "TreeKeeper" bag with a hook for hanging your tree without having to take it apart.
Ornament Storage
-
LOOK FOR ornament storage containers. especially those that have individual compartments that are padded for each ornament. Those that can be reconfigured to accommodate ornaments of various sizes, are even better.
-
GREAT, inexpensive ideas for ornament storage exist, including using partitioned liquor/wine boxes and, for tiny ornaments, egg cartons! Tissue paper saved from opened gifts are perfect for safe packaging, too.
-
FOR SILVER ornaments (and flatware, too!), store in tarnish-proof pouches which are available in a large variety of sizes.
Gift Wrap Storage
-
CONTAINERS can be purchased exclusively for storage of gift wrap. Some are free-standing containers, tall enough to house rolls of gift wrap. Others store under the bed, while still more store folded wrapping paper (and greeting cards, gift tags, etc.) in a hanging unit. All of these options will keep your wrapping paper intact and wrinkle-free!
-
TIP: You can recycle your used gift wrap and tissue paper by running them through a paper shredder and using as packing filler and/or as future gift bag filler!
Storing Holiday Villages
-
KEEP THE original boxes the individual pieces came in, and store each item in their respective box, when done displaying, then pack inside plastic storage tubs TIP: Pack your containers with what you'll need first on top, so you can unpack everything and decorate as you go along, instead of having to unload before getting started. Pack the buildings first and any landscaping/lighting on top, etc. You will truly appreciate having done so when the next holiday season comes around and you're getting ready to set up your holiday village again!
"The Little Things"
-
SOME GIFT wrap and/or ornament organizers also come with sections for storing even the smallest of items, such as ornament hooks and hangers, but you can also find inexpensive storage cases that are made solely for this purpose, too. You can even use a plastic case designed for organizing small craft supplies. These are also inexpensive and can be found at your local craft supply place, or even online.
-
DON'T FORGET those egg cartons! They are also great for storing these little, often misplaced, items.
Ribbon Storage
-
THERE SEEMS to be a storage case for EVERYTHING, and ribbons are no exception! Cases with adjustable dividers for various ribbon widths can even be found in stackable varieties, some with built-in ribbon dispensers.
Wreath Storage
-
THERE ARE storage containers made specifically for storing wreaths, but if you don't want to be that fancy, there are other less expensive options, too. Fragile, sometimes even large and/or heavy wreaths, can be wrapped in plastic garbage bags or dry cleaner bags, and can be hung from a nail in your storage area. Simple!
Storing Tree Skirts and Holiday Linens
-
HANGING tablecloths, napkins and placemats on simple shirt hangers will keep them from becoming wrinkled and they can be hung in a closet for storage. Better yet, use a hanging vacuum-storage bag, ideal for storing these items while protecting them from dust, moisture, mold and moths.
Plastic Lawn Ornaments
-
THEY'RE BIG and they're bulky, so what do you do? You can store them in large trash bags or zippered garment bags. Put garment bags aside when you get them with a new suit or dress and use them to store these sometimes cumbersome holiday decorations. Depending upon size, some can be hung in a closet or on a nail in your storage area. Just make sure you wipe the ornaments clean before storing.
Storage of Faux Fir Garlands
-
USE A plastic tub to place your coiled garlands in, after use. You can even be a little "extra" by including a note indicating where each particular garland goes, saving you much aggravation when decorating next holiday season.
Holiday Dish Storage
-
THERE ARE certainly dish storage bags/bins you can purchase, but you can also store them just as securely by following these directions. If you have dedicated holiday dishes that you don't keep in a hutch or china cabinet, line a sturdy cardboard box (or, better yet, a plastic bin) with newspaper and bubble wrap. Stack each plate with a sheet of wrap in between. Fill any gaps with crushed newspaper or bubble wrap, to prevent any slipping.
Holiday Candle Storage
-
IF YOU'VE ever opened up a box of decorations, only to find melted candle wax all over a treasured holiday keepsake, this one's for you! Temperature is key, when storing candles. Store in a cool place (yes, even a refrigerator!) to keep them from melting. If that's not an option for you, just remember to wrap candles in cellophane (NOT plastic wrap or waxed paper), to keep them from melting together and/or transferring color, and keeping storage bin in an area that does not get too warm during the year. Storing in an attic space is NOT recommended.
Overall Tips for Storing Holiday Collectibles
-
LABEL each storage box/bin/bag with a few details regarding its contents.
-
USE plastic storage containers as much as possible, to protect the contents from dampness, mildew damage, and insects.
-
THROUGHOUT the year, put aside the silica packets often found in new shoe boxes, etc. and throw a few of them in the storage containers for moisture-free storage. Great idea!
Consider using these great ideas when storing your holiday decorations this year. Taking the time now to properly store your treasured decorations will ensure their existence for a long time to come, and make future holiday decorating simple and stress-free!
| |
|
Pull-Down Attic Ladders:
Have One? Want One? Read THIS!
| |
|
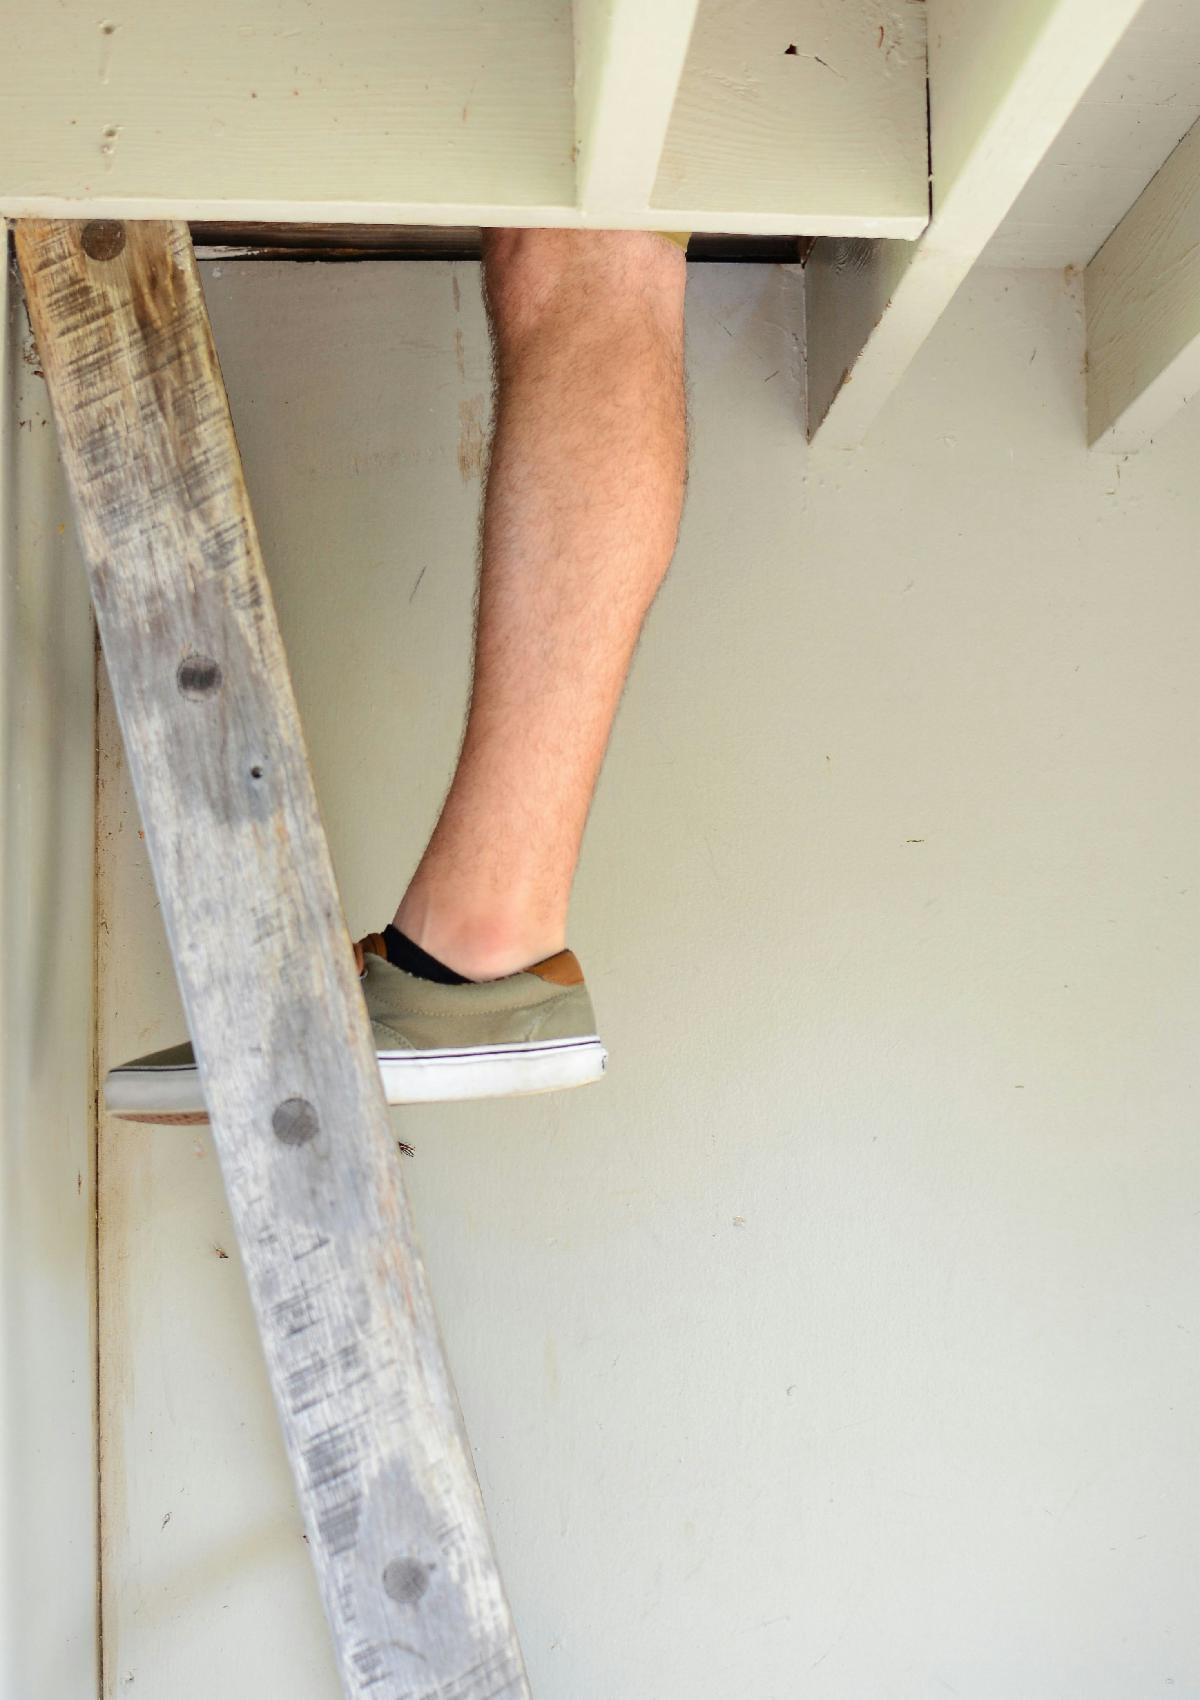
Many people store their holiday decorations, and other things, in their attic space. If you currently rely on an everyday ladder, like the one in the photo to the left, to help you transport everything from the attic space to the main level (and vice versa), you know the struggle. Now may be a great time to consider having a pull-down attic ladder installed, or maybe you already have a pull-down ladder that has seen better days. Whatever your situation may be, here is everything you need to know about maintaining pull-down attic stairs. They can be a great addition to your home and a safer way to store your items in your attic space!
Attic Pull-Down Ladder Maintenance
-
CHECK YOUR fasteners! If your attic ladder's fasteners are missing or are not the correct nail/screw/nut specified by the manufacturer, either or both issues can be very hazardous to anyone using the ladder.
-
LOOK FOR and repair any cracks in the wood of the ladder, which can eventually enlarge and fail. Keep in mind, temporary repairs are only temporary and may void your ladder's warranty.
-
LOOK FOR any bent or misfired power arms.
-
TAKE A LOOK at the pivot points to make sure they are intact and not about to pop out.
-
MAKE SURE your attic pull-down stairs is the correct size, and sits securely on the floor when in use. If your ladder is too short and doesn't reach the floor, it can pose a fall hazard. If your ladder is too long, it will put too much stress on its hinges.
-
MAKE SURE there is at least 18 inches of head clearance above the ladder opening, to ensure safe entry into your attic space.
-
OVER TIME, and with repeated use, ladder rods, hinges, etc. can become loose or go missing. Check that there are no loose or missing nuts and no damaged hinges, which will eventually fail.
-
INSPECT FOR missing and/or damaged springs, which can cause the entire stair assembly to fall open once the door latch is released, causing serious injury. Lessened spring tension can cause the stairs to not close completely. With a little help from a friend, you can adjust the springs on your attic stairs by following the steps, below. Before doing so, however, it's important to point out the amount of energy that is stored in these springs. They are under high tension, and can cause serious injury, if mishandled. PROCEED WITH CAUTION!:
-
CLIMB the attic stairs and switch on the light. Ask your friend to close the stairs. IMPORTANT!: ALL spring adjustments should be made with the ladder closed when the springs are under minimum tension.
-
FIND the J-Hooks. These connect the inner end of each spring to the corresponding power arms. Look for the adjustment-nuts, located on the threaded stems of these J-Hooks. (**If you do not have these nuts on your ladder, see note, below).
-
EACH adjustment-nut has a locking-nut that secures it. Loosen each of these locking-nuts with an open-ended wrench, then turn the adjustment-nuts clockwise in equal increments. When any gap(s) between the inside face of the door and the frame is/are gone, your first adjustment is done.
-
DO YOUR second, final adjustment: Ask your friend to pull down the stairs and raise them closed again. If you see any gaps, repeat the last step. Once any gaps are eliminated, tighten the locking-nuts against their corresponding adjustment-nut.
**NOTE: If your attic stairs do NOT have locking-nuts and adjustment nuts, you many have "turnbuckles" instead. If so, insert the tip of a screwdriver into a turnbuckle and rotate clockwise to increase the tension in a spring.
Safe Use of Your Attic Ladder
-
FACE THE ladder when ascending AND descending it. If you have a load to carry down, have a person at the base of the ladder to hand items down to. Also, pay attention to the load limit of your ladder. Most attic ladders are rated for a 250lb. load. This is the combined weight of the person using the ladder AND the load they may be carrying.
Need help with this task? Not enough time to get this done? Interested in adding or replacing an attic pull-down ladder? Just give us a call! HRC can take a look at existing attic ladders, service them, and replace them. We can also install new attic ladders if you don't currently have one. HRC is also a dealer for the SpaceLift Attic Storage Lift. CLICK HERE for more information on this product and feel free to contact us for more info.
| |
|
Home Repair and Care has a facebook page! We put reminders for upcoming events and other useful things here! CLICK HERE to follow us. You can even leave a review for HRC! We greatly appreciate hearing some kind words from our long list of terrific customers!
| |
|
You can also give your review of Home Repair and Care on Google (CLICK HERE!).
| |
|
We also have a nextdoor account! You can join our neighborhood, HERE. Feel free to "Fave" us and leave a review, also!
| |
|
Bucks County (PA) Electronics Disposal Information. The following is a list of locations for electronics disposal. NOTE: A fee will be charged at these sites. Contact individual locations for further details. For list of
locations, CLICK HERE!
Check back with us in 2025 for more upcoming events!
| |
December Monthly Maintenance List | | |
- Check interior and exterior faucets for leaks. Clean aerators and replace washers, if necessary.
- Check under and around kitchen/bathroom cabinets for leaks.
- Touch up paint or apply wood protectant to interior wood cabinets and trim.
- Clean dust from top of refrigerator. Clean drain pan. Clean and defrost freezer, if necessary. Clean refrigerator door gaskets and lubricate hinges.
- Check dishwasher for leaks.
- Replace batteries in smoke and carbon monoxide detectors.
- Test GFI outlets for proper operation.
- Remove garden hoses from outside faucets. Drain.
- Clean gutters and check for leaks, misalignment, or damage.
- Exercise circuit breakers.
| |
|
HRC is always thankful for having such wonderful customers to work with. Owning a home takes a lot of work but, if we work together, we can get it done! We're just a phone call away, so remember: "We do the little things that never seem to get done", and so much more!
| |
|
Don't forget, we also post tips, reminders and project updates on our social media!
FOLLOW US
| | | | |