Welcome to our Framer's Corner!!
We like to take a moment every month to share some of our favorite projects with you.
|
|
When a friend and client came in recently with an antique
shaving box,
we were pleasantly surprised with what was inside.....
|
|
|
|
Inside Cigar Box
Lotus Leaf painting
|
|
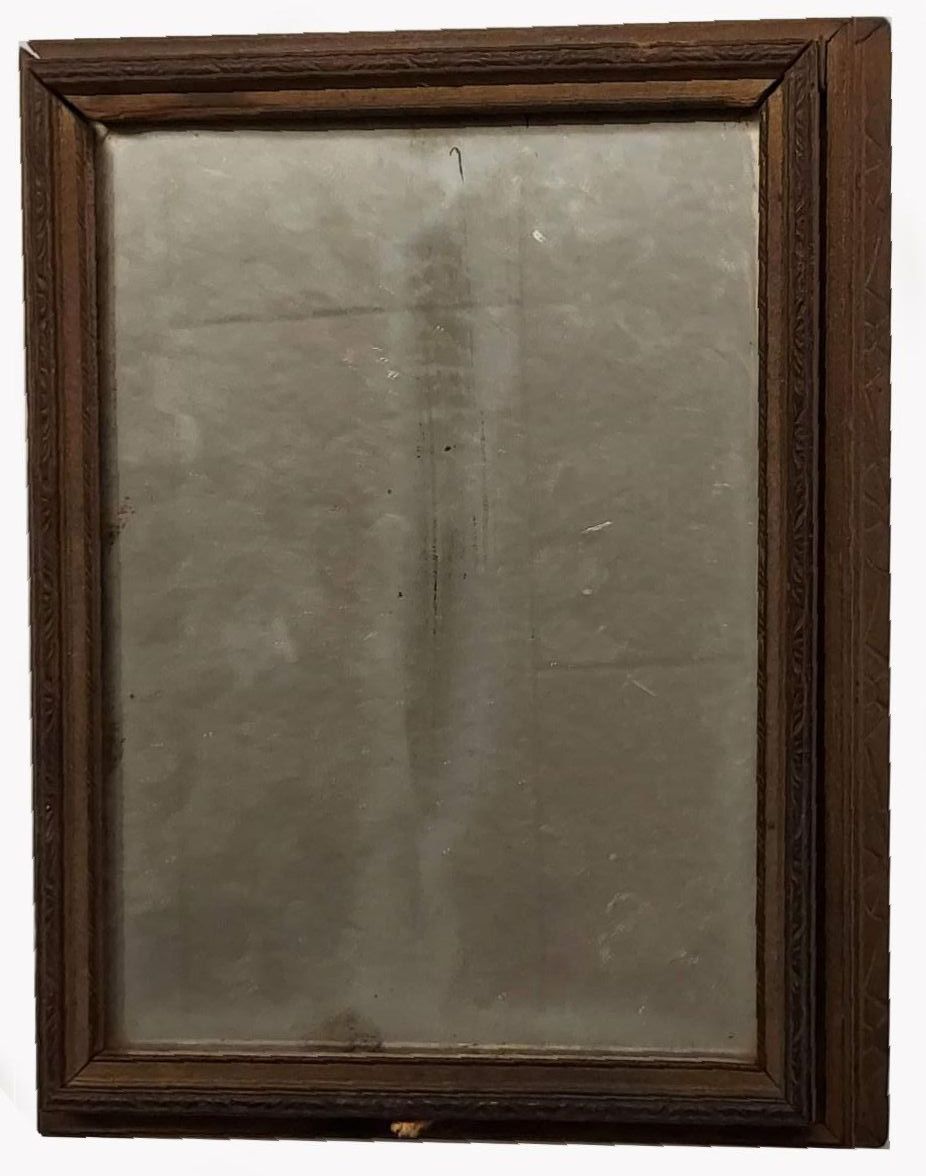
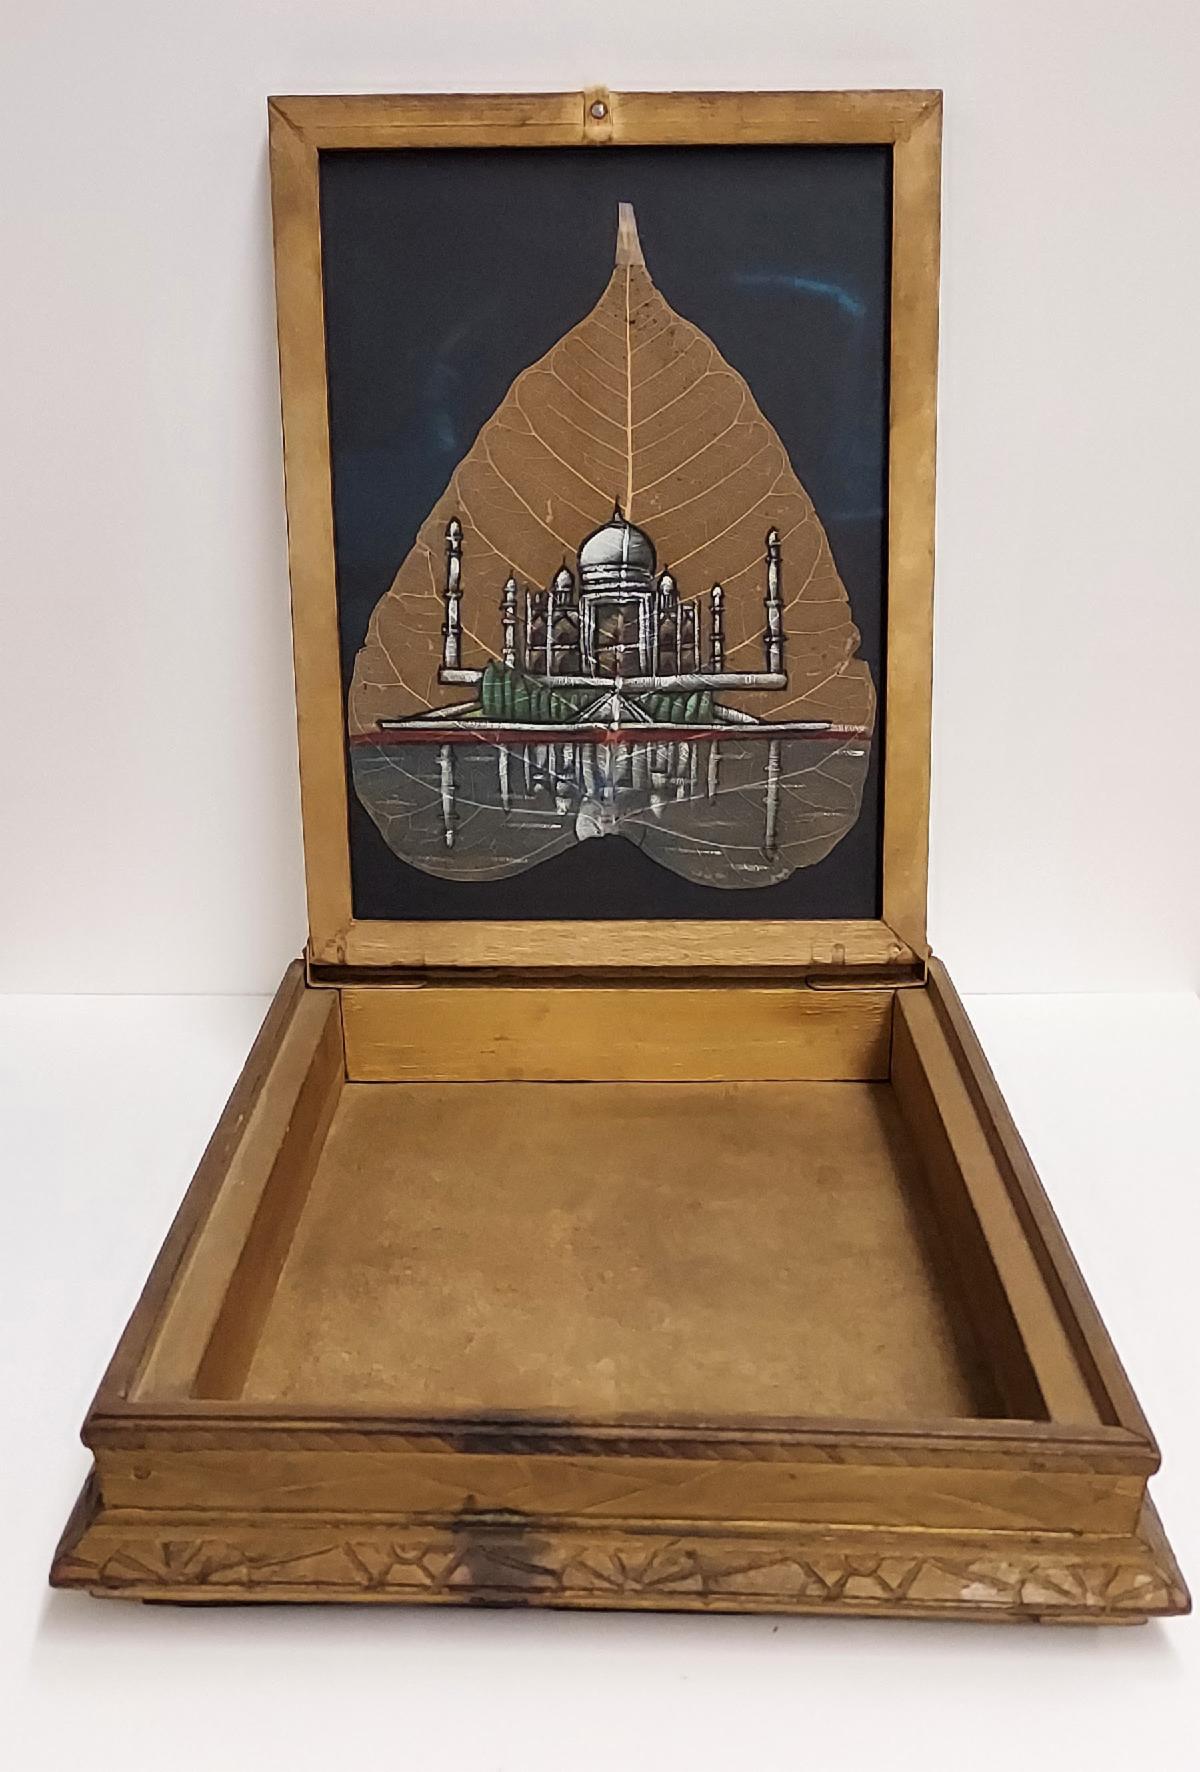
When our client Jain Walsh brought in her father's antique shaving box, We were pleasantly surprised by this historic family heirloom. This was not just a shaving box. The box held a mirror on the outside of the lid, and when opened, a small painting of a temple was placed behind glass in the lid of the box. It was beautiful and incredibly fragile. Due to the age of this great find it was not in the best condition, and our client was looking to improve and protect the painting and the box as well. Heather was very excited to get a design and plan for how to preserve this beautiful painting.
Generally when a customer brings in a project to have framed, we work with the customer then and there to come up with a plan for the artwork. In this case, being that the project was so unique, Heather had the customer leave the cigar box with us so we could take a closer look and decide what the best options for repair and preservation would be.
A few creative people are better than one when it comes to unique projects. With that being said, Heather began brainstorming with her fellow designers to come up with a plan for this unique project.
|
|
Examining the Art and cigar box...
Not only would this piece be a unique design project, but a bit of restoration would be needed to ensure the structure of the box would stay maintained.
The age of the box showed some deterioration on the corners of the lid that held the painting in place, as well as some natural wear on the edges of the box itself. The glass that sandwiched the lotus leaf in place was crack down the middle and was not an archival glass. Replacing the glass with an archival, UV protectant glass would keep the painting and the lotus leaf from further fading over time.
After further inspection and removing the lid from the box, there were some other issues that became more noticeable. The lid of this cigar box, which was essentially a frame that was holding the mirror and lotus leaf together was very warped. This was probably the reason behind the crack in the glass.The warping would continue without repair, to the framing of the lid, and would eventually start to damage the anatomy of the fragile lotus leaf, causing irreversible damage.
Disassembly begins....
The first steps of repairing this heirloom, was by removing the older hinges that held the lid onto the cigar box, which allowed us safely take each leg of the lid apart. By doing this, Heather was then able to remove and inspect the mirror and lotus leaf.
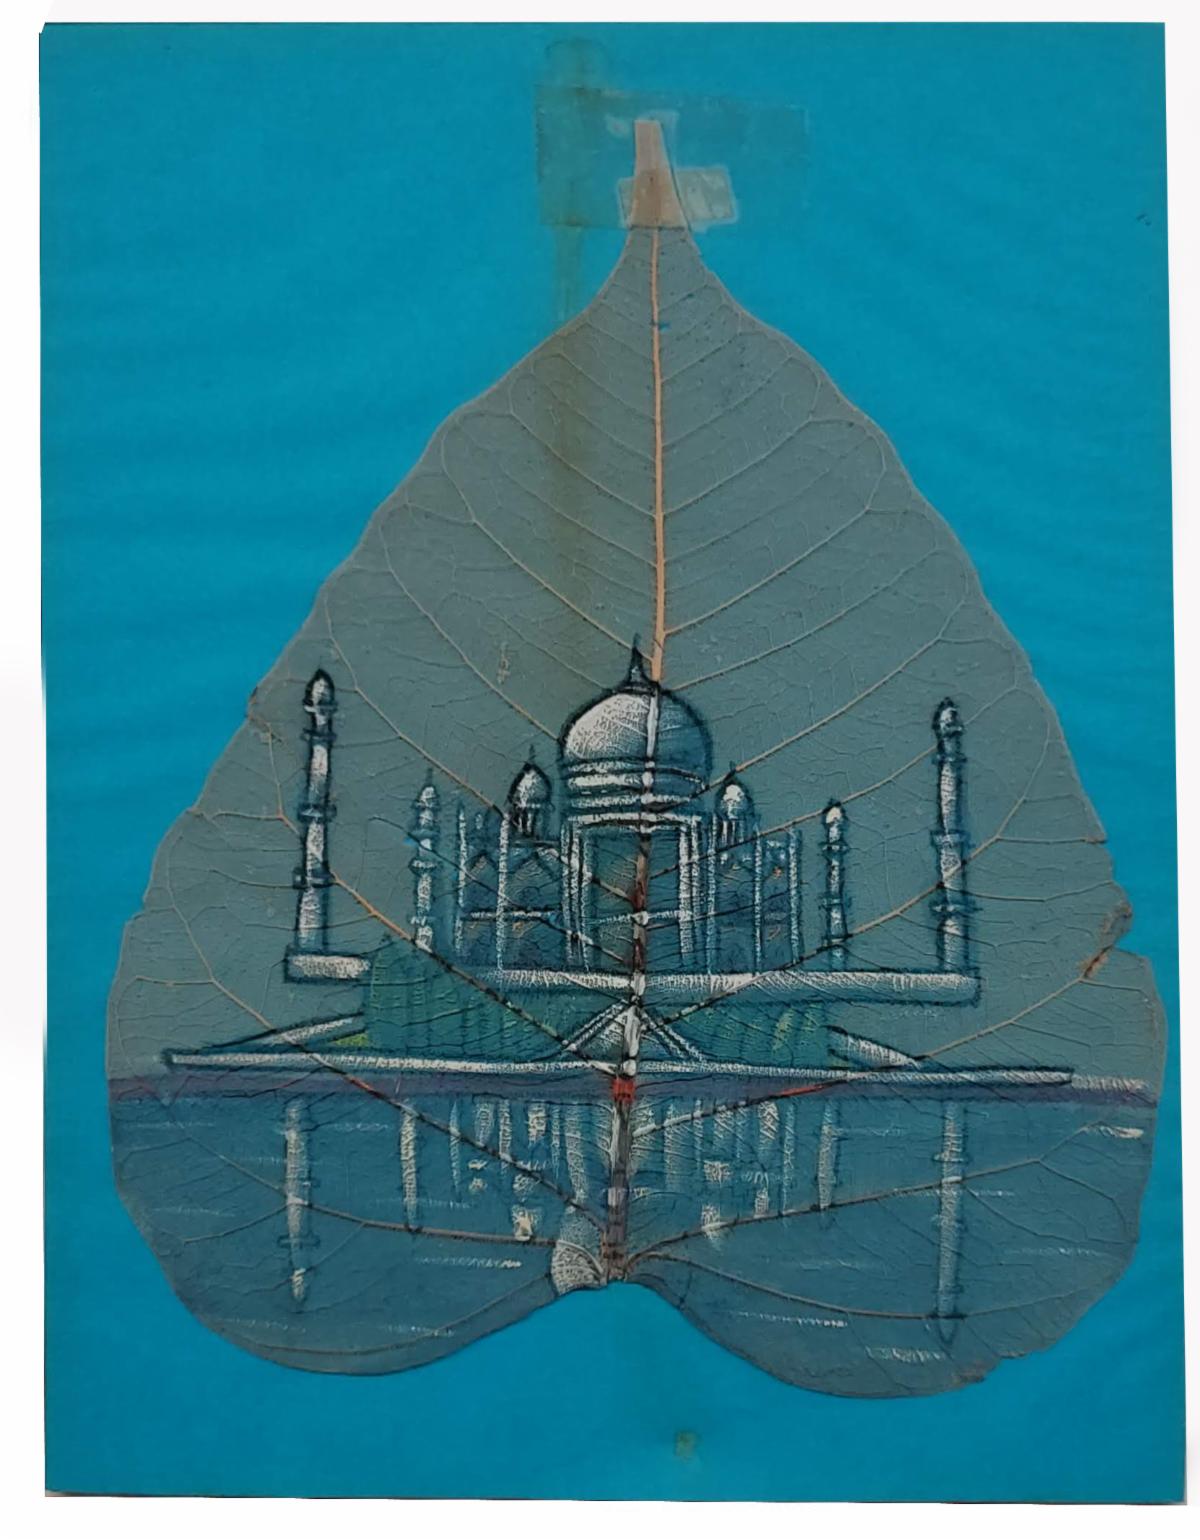
In order to get the lotus leaf to stay in place, the original creator of this box had simply taped it in one obvious spot to a piece of bright blue paper. This is not an ideal method of mounting. The acids in the adhesives of the tape can be very damaging to organic materials, and begins to brown and burn wherever the adhesive is attached. In order to remove the tape without damaging the artwork, we were able to carefully use an acetone on a q-tip to slowly dissolve the glue.
The blue backing paper used in the box was also problematic, as it was not made of acid free materials. Having the leaf directly touching the piece would allow the acids from the dyes and the paper itself to leak into the delicate leaf. The paper would need to be replaced with a ph balanced paper made of cotton, and dyed in archival inks.would like to use an acid free archival mounting process, so that the piece would be preserved properly.
|
|
Repairs and Replacements....
Now that all of the piece of the box had been taken apart, it was time to start the reassembly process. A new piece of UV protective museum glass was chosen to replace the cracked and damaged glass.
Next it was time to find a replacement for our mounting board. It was clear after taking apart the lid that the depth of the rabbet of the lid was not going to hold our standard acid free backing boards as well as the mirror, lotus leaf, and museum glass. Heather realized she was going to have to find an alternative material to use to mount this leaf.
Having recently added a new art supply store to our shop came in pretty handy for finding such a specific backing paper, and our art supply manager Patrick was up for the task.
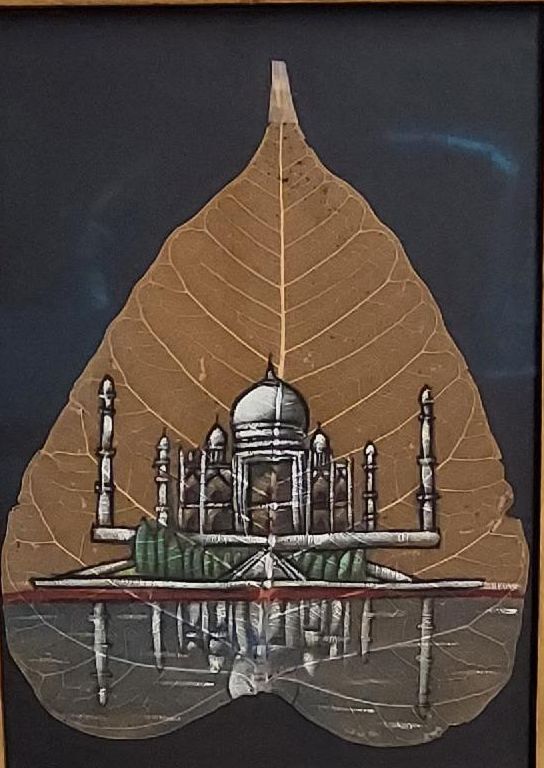
Patrick suggested using our Canson Mi-Teintes drawing paper. This paper is an archival fine art drawing paper with a fine texture. Heather chose black for the color to replace the instense blue paper that was originally used. This allowed the details in the painting and the fine veins in the lotus leaf really stand out
Once the black paper was acquired, Heather slowly started working on putting this project all back together.
|
|
Like pieces of a puzzle, making a perfect fit...
Starting with the mounting of the lotus leaf, Heather needed a way to archivally mount the lotus leaf to the black paper without it being noticeable. Heather decided the best method was to use mulberry paper and rice starch to adhere, the leaf to the paper. This is one of the most archival ways of mounting artwork. The mulberry paper is made from mulberry bark found in Japan. We create a paste out of our rice starch by adding small amounts of water to it and warming the starch until it becomes a gum like paste. Rice starch is measured at 7 on a ph scale, which is considered to be completely neutral in acids. This means there will not be any chance of the material destroying the artwork over time. This process is also 100% reversible by simply moistening the rice paste with simple water. When using this method of mounting the goal is for the mounting to be invisible and to have it be placed in inconspicuous places that help the art hide it in plain sight. The
Instead of using our traditional mulberry mount where we attach the mulberry paper behind the art, Heather made three very small slits into the paper to slide the mulberry through, to create a hinge for the leaf to hang from.
With a bit of TLC, the aged mirror of the lid was brought to a nice shiny new state, and we were ready to put everything back together!
The frame, on the other hand, had it’s own issues. Because it was so fragile, Heather couldn’t join it the normal way, she had to use lots of glue and some finishing nails to join all the corners. Once 3 of the legs were joined, Heather could then slide the mirror, the leaf on paper, and glass into the frame. This is usually a pretty cut and dry approach (no pun intended) but, alas... life like to throw us a challenge every now and then.
By replacing all the materials with new up to date archival materials, the total thickness of the sandwiched pieces were slightly to thick to fit back into the rabbet of the lid. This meant we would need to increase the depth of the rabbet of the lid, and because the frame was so fragile, milling out the frame to make it bigger needed to be done gently.
Heather went back and forth using a dremel tool and sanding paper to make the opening in the frame larger. After about a full day of delicately sanding away at the lid, Heather finally got the depth just right to hold all the pieces of this intricate puzzle together. Heather made sure to remove all dust particles and any smudges or marks in any of the materials, and finally slid the materials into the lid. And with a sigh of relief, s he was finally able to fit everything together and attached the last leg of the frame.
After it was fitted, the frame need to be touched up and cleaned in certain spots to cover some of the original blemishes. We wanted to keep the worn look of the piece, to keep the story of the box as vital an element of the design as the structure itself. Heather then screwed the lid back into the box, so then it could be opened and closed again.
|
|
The finished product came out amazing. If you look close at the picture you can not even tell that there is glass protecting the painting. The black paper Heather chose to mount the painting on has such a great way of making all the true colors pop, unlike before where alot of the beauty of the painting was lost on the blue paper that was behind it. We think it turned out amazing!!! |
|
After all the work was done, the customer picked it up and she was extremely happy with how it turned out and was super excited to show it to her father. She believes either he or her grandfather were the ones to fit all together back in the day, and she couldn’t wait to show him the before and after images.
Working on something such a unique project may have taken a lot of time, but that makes the project that much more special and exciting.
|
|
1706 Brooks Street
Missoula, MT 59801
406-549-8589
|
|
|
|
|
|
|